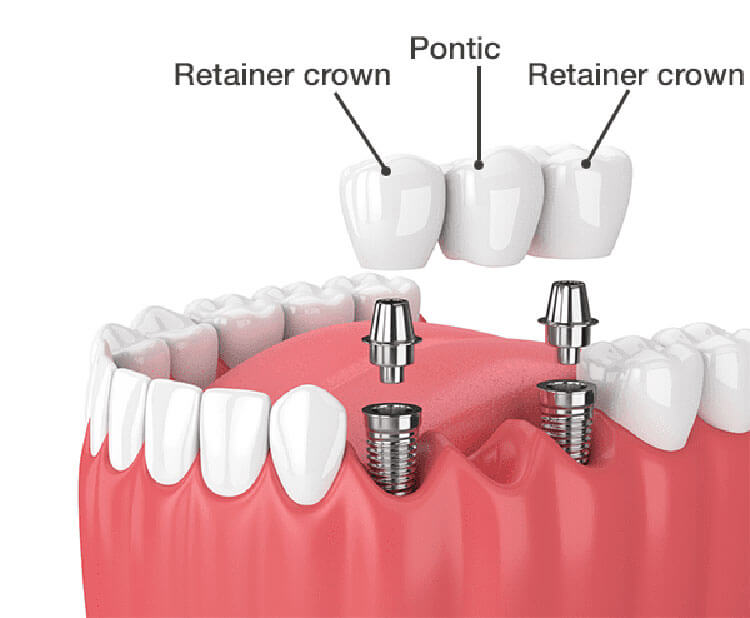
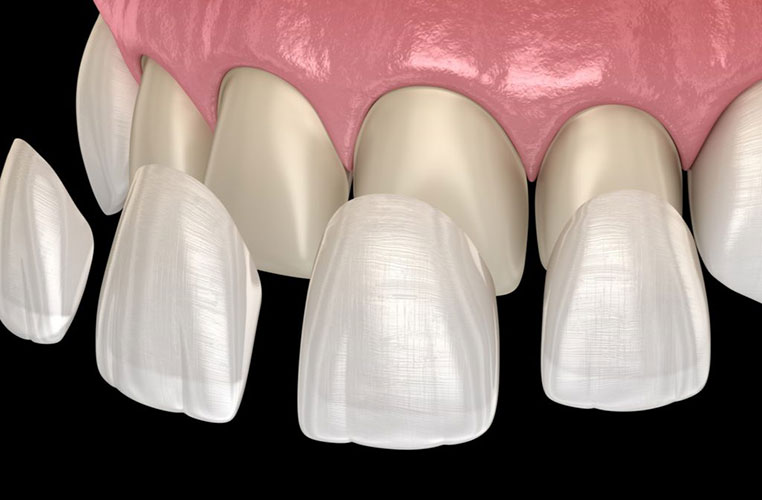
A dental bridge is a custom made way of replacing missing teeth. It joins an artificial tooth to adjacent teeth or dental implants.
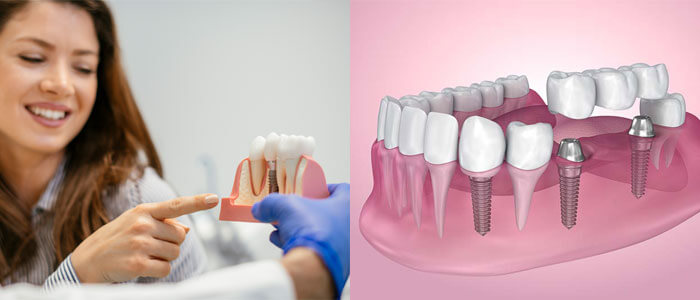
The bridge restores your bite and helps keep the natural shape of your face. As the name implies, implant-supported bridges use dental implants to make a dental bridge when no natural teeth are available. You can place two implants apart from one another (the abutments) and join them to fill in a space (the pontic).
To learn more about dental implants, please visit us here:
What Are Dental Implants Mississauga On
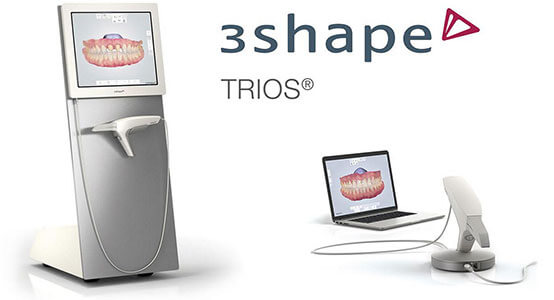
The Trios scanner is one more way St. Lawrence Dentistry ensures you have the best quality dental care. Traditionally, to make dental prosthetics, we had to take a physical impression of your mouth. Now, this is not necessary with advanced scanning technology.
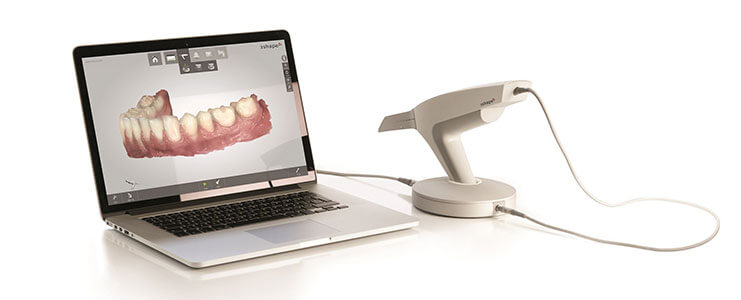
To learn more about the many applications of the Trios scanner, please visit us here.
Digital Technology: The New Core Of Modern Dentistry
Many patients are interested in how we utilize our Trios scanner, and here we will outline the workflow involved in making an implant bridge using the Trios. Upon turning the scanner on, Dr. Hawryluk will go to the “patients page” and select “new patient”. An order form will appear. We will enter your details choose the lab we will send your implant bridge case to for fabrication. We work closely with Solaris dental labs, which are well versed in digital scanning technology.
Here is a video which animates the entire process:
https://images.app.goo.gl/uUpkN4PoeYLsfCgb7
Please visit us here for a comparison between them:
Differences Between Zirconia, Emax, And Ceramic Hybrid Dental Crowns
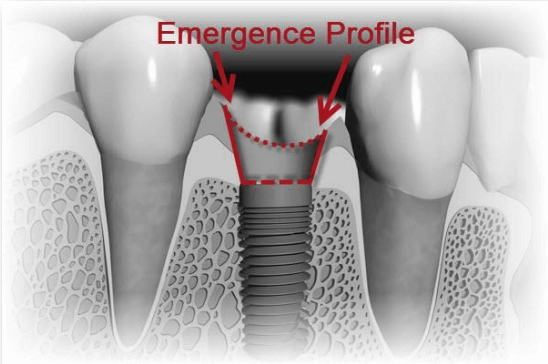
The pontic tooth number and its material composition are then selected. Common materials used at our office are Emax, porcelain fused to metal, and zirconia. Next, Dr. Hawryluk marks all the teeth comprising the bridge and selects the “bridge-type” in Trios software. We will ask you when you can return to insert your implant bridge and enter this information by clicking the delivery date button. When we scan for dental implants, Trios will prompt us to make an “emergence profile” scan by default. A “pre-preparation scan” may also be added. The emergence profile is the contour of the implant as it emerges from the gum tissue. Scanning this profile is vital in our goal of creating a lifelike implant crown.
Now we are ready to proceed to the “Trios software scan page”. There will be four scans we will need to complete to make your implant-retained bridge:
- Lower arch (we can hypothetically say this is the opposing arch from the dental implants)
- Upper arch (where implants will be) with emergence profile
- Upper arch with ‘scan bodies’
- Occlusion (how the teeth bite together)
We scan the opposing (lower) arch first by following the Official Trios Scan Strategy which is:
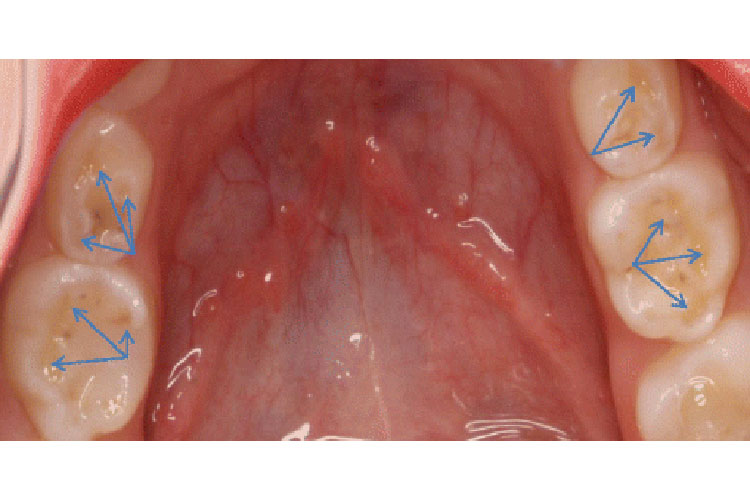
Start by scanning the top (occlusal) surface from the molar teeth to the canine teeth. As the lower arch, we slowly roll to the tongue area (lingual side) and move the scanner in the distal direction. We slowly roll over the last molar and scan the teeth area facing the cheek (buccal side).

Next, we will scan the upper arch with the healing caps in place. These are metal structures that connect to the implants while they are healing and protrude thru the gum. We then digitally “trim” away the healing caps in the scan. We remove the first healing cap (a bridge has at least two implants with initial healing caps), dry the area, and scan the “emergence profile” immediately. Timing is critical with this scan as it is left too long, the gum (gingiva) can “collapse” without the healing caps in place. We then digitally “paint” the emergence profile area using the “lock tool” to freeze the emergence profile in its current “retracted state” — preventing it from being updated with later data when the gum (gingiva) may have collapsed. We will repeat this procedure for all implants. Subsequently, we “mark” the preparations, and a “blue overlay” which will appear on the Trios screen, which automatically digitally “cuts out” this area.
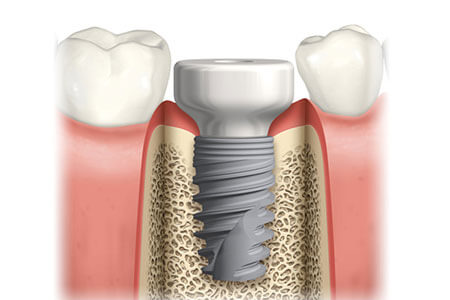
Dr. Hawryluk will then proceed to the scan body page of the software. An implant scan body is a structure that attaches to the dental implant to determine its position and orientation. The dental software needs to design your dental crown accurately. We ensure all of the healing cap images are “trimmed away” before “scanning the scan bodies”. The “scan bodies” will be inserted, and we will start scanning at the neighboring teeth. Once the scanner has picked up the position, we will move to the scan body, circle around it, and pick it up from all angles. It is crucial for us to “pick up” the upper third of the scan body, so the laboratory recognizes the correct position. If only one scan body is present, Dr. Hawryluk may move them between implants to scan them one by one. After adding this scan, we will remove the scan bodies and then scan the “bite” We will ask you to bite firmly down until the digital models snap into position, and the jaws are aligned. Usually, 3 or 4 teeth are scared to obtain a correct alignment.
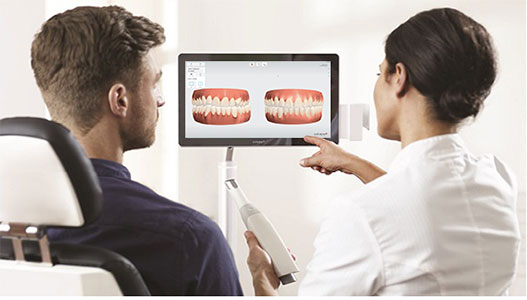
We are now ready to go to the analyze page, which will confirm there is enough room for your reconstruction between your upper and lower jaws. We may add some comments or take a shade measurement. Finally, Dr. Hawryluk will verify your order and press the send button, which will deliver your implant reconstruction blueprints to Solaris dental lab to make your implant bridge.

Now you know the Trios workflow used to create an implant bridge. We hope this was helpful, and thank you for reading!
- St. Lawrence Dentistry Looks Forward To St. Patrick’s Day! - March 12, 2025
- Understanding Dental X-Rays and Radiation: What You Should Know - January 13, 2025
- Happy New Year from St. Lawrence Dentistry! - December 30, 2024


